How I use my new blogging system
11/4/2016
As pointed out in an earlier blog post I have recently transitioned from the blogging package known as WordPress to my own system that I feel is nicer to use and has little to no exploitable features.
I'd like to point out a few things - how I create a new blog post, how I display then on my page and how my site is setup.
Creating a new blog post
Creating a new post is easy due to how modular my system is - I will go into further detail of this modularity a little later. I create each and every blog post in its own php file in pure HTML (you can find them all here). I create and edit each blog post through an SSH connection using vim, I begin by copying the template.file into post_number.php and edit that file accordingly. This template has a basic blog post outline inside it and an example of how I should insert pictures into my media/posts with 404 fallbacks. Of course, having blogs be pure php files I can easily screw everything on my page up, and if a malicious blog post is written, do nasty things to my server. But with such risks comes the ease of backing up my media/posts and transfering them between servers.Displaying the media/posts on my blog page
The system I use for displaying my blog media/posts may not be very safe or light but my god does it make things easy. I begin by getting a count of all files inside the 'media/posts' directory that end in .php, this is NOT safe AT ALL, but I don't plan on putting anything in this directory other than media/posts. I then use a for loop to count down to 1 from the number of php file we collected before, using this decrementing number I use the php include funtion to paste the contents of that particular file into my blog. Pretty simple, yet effective.Here is an outline of the code that does this.
$total = count(glob("*.php", GLOB_BRACE));
for ($total; $total >= 1; $total--)
{
	include('' . $total . '.php');
}
How my website is setup
Moving from WordPress to my own setup allowed me to do things how I wanted - I prefer simple things, a simple website with a minimalistic design, and that is what I did.Directory structures
Inside my www root I have 3 directories of interest: blog, includes and css. They each contain exactly what is stated - the blog directory holds my blog and its files, the includes directory contains files that I use regularly for web-design (more on this later) and the css directory contains all my css source files.Inside my blog directory I have one other directory of interest: media/posts, which contains all of my blog media/posts and a single subdirectory named media, which, you guessed it, contains the media used inside my blog media/posts.
Files of interest and what they are used for
Generally, I have only two files of interest that may be of interest to you, one being the side navigation bar and my css source file.Located at /includes/navbar.php is thenavigation bar you see to your left when using my site. It is a single php file that is included when and where I need it. It derives its layout from the style.css file.
Located at /css/style.css is my css source file that dictates the look and feel of my website and blog; it is pretty simple but works great.
All files I need are referenced locally (for example ../../includes/navbar.php).
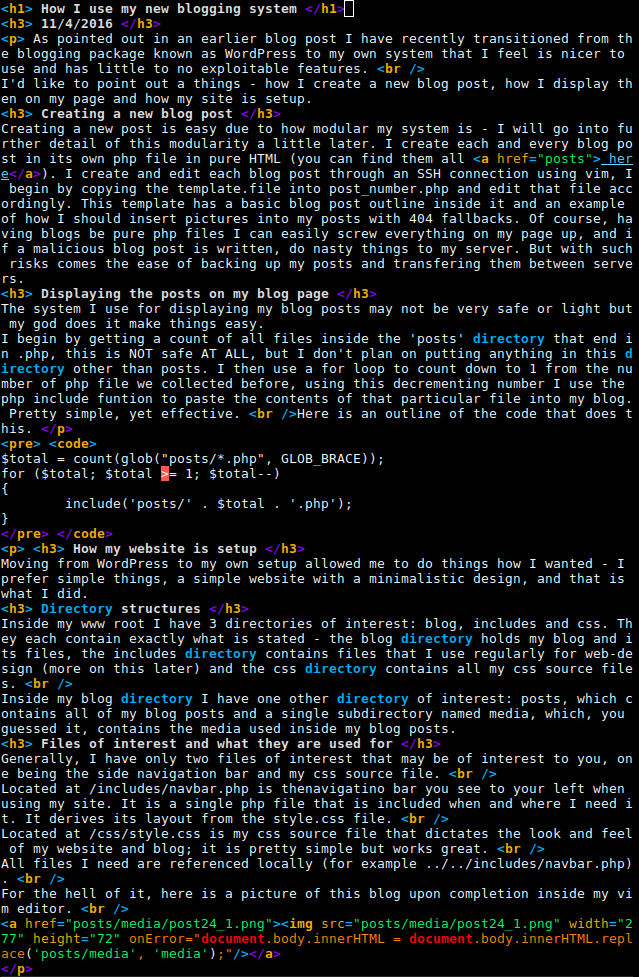
For the hell of it, here is a picture of this blog upon completion inside my vim editor. It may look like jargon to you, but it looks like a blog post to me. pssst, you can click on the image to get a larger view.


